

In cPanel, email filters help you control which email you are receiving, including to help reduce spam. Within the Dashboard of the cPanel control panel, you can set cPanel Email filters. They can be configured Globally or by email address.
They give you another level of control over what emails you receive and are especially useful in helping prevent spam emails. You can set conditions for target messages with the email filters that contain a specific word or phrase, From, To, or subject-based. And add multiple levels of email filters so you can fine-tune exactly what you want to happen with the received email.
You can delete the emails you filter through cPanel User Level Filtering, send them to another email address, or submit them to a program (such as a help ticketing system, although cPanel email forwarding is often used for this purpose).
How to Setup cPanel Email Filters for an Individual Email Address
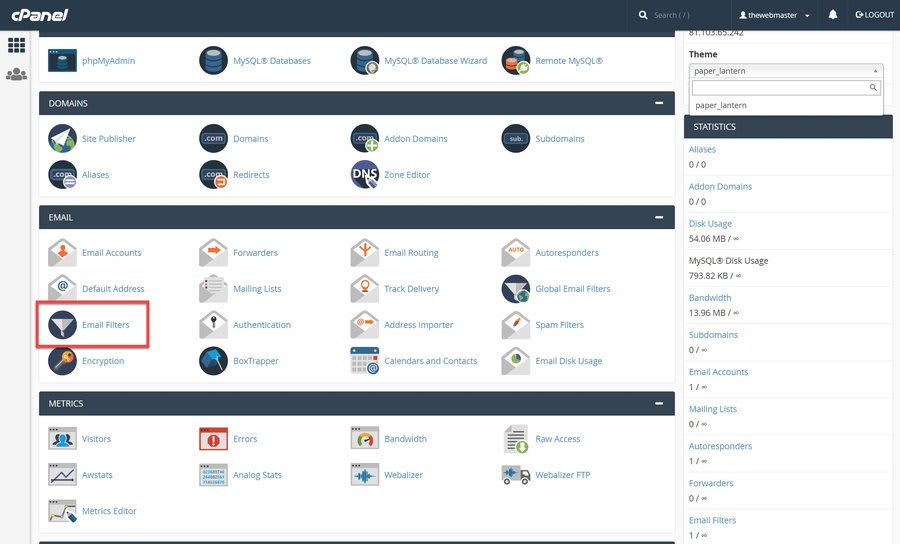
1. Click on the ‘Email Filters’ icon
- Click on the “Email Filters” icon on the cPanel dashboard.
- Click on the “Email Filters” icon on the cPanel dashboard.
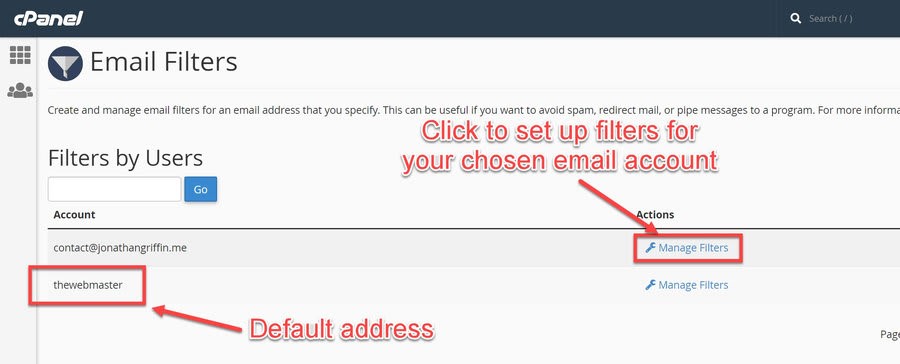
2. Click ‘Manage Filters’ next to your chosen email address
- Click “Manage Filters” next to the email address you wish to create a filter for.
- You can choose from email addresses you have created, as well as the default email address.
3. Create a new Email Filter
- On this page, you will see a list of your current email filters. You will also be able to create a new filter for that email address.
- Click the “Create a New Filter” button to create the new filter.
4. Configure Filter Name
- Filter Name – Choose the name for your filter.
- The name you give cannot contain “Rule #” or “Converted Rule” as you can see from the above image.
- The filter name must also be unique. If you choose the same name as another filter, the existing filter will be overwritten.
5. Configure Option Rules
- You have several options to choose from here:
- From – This is the “from” email address that you wish to match
- Subject – This will filter by the subject of the email
- To – This filter by the “To” email address
- Address – This filter by the “Reply” email address
- Body – This will check the email body for any matches
- Any Header – This will check the headers of the email
- Any Recipient – This will check all the different recipients of the email
- Has not been previously delivered – This will only filter emails that are still in the server’s email queue
- Is an error message – This will check the error message received by autoresponders, or email forwarders?
- List ID – The account’s mailing lists.
- Spam Status – Whether Apache SpamAssassin marked the message as spam. The Spam Status begins with a “Yes” or “No”
- Spam Bar – The content of the Spam Bar header that Apache SpamAssassin generated. This is depicted using plus signs (+).
- Spam Score – The total number of plus signs (+) in the Spam Bar. This is depicted as an integer (number).
- You have several options to choose from here:
6. Configure Operator Rules
- You have several rules to choose from here:
- Equals – This will match identically the text entered
- Matches Regex – You can enter a Regular Expression here
- Contains – This will do a partial match of the specified string of characters
- Does not Contain – This will check whether the email does NOT have a partial match of the specified string of characters
- Begins with – This will check whether the Rule begins with the characters specified
- Ends with – This will check whether the Rule ends with the characters specified
- Do not begin with – This will check whether the Rule DOES NOT begin with the characters specified
- Does not end with – This will check whether the Rule DOES NOT end with the characters specified
- Don’t match – This will check that it does not match the characters specified
- The following relates to the SpamAssassin Spam Score:
- is above (numbers only) – The Spam Score is greater than.
- is not above (numbers only) – The Spam Score is equal to or less than.
- is below (numbers only) – The Spam Score is less than.
- is not below (numbers only) – The Spam Score is greater than or equal to.
- You have several rules to choose from here:
7. Configure Rule Match Criteria
- Once you have chosen a Rule Option and Rule Operator, you will need to add what those will need to match.
- This could be an email address, spam score, or emails containing a specific subject or keyword.
8. Configure Action Rules
- Discard Message – Deletes the message with no Failure message.
- Redirect to Email – Sends the email to another email address.
- Fail with Message – Deletes the email and sends a failure message.
- Stop processing rules – Does not run any filter rules.
- Deliver to folder – Sends the email to a specified folder.
- Pipe to program – Sends the email to a program or script on the server.
If you choose to pipe the action to a program, the path used should be relative to your home directory. If the script the Perl or PHP interpreter, you should omit the /usr/bin/perl or /usr/local/bin/php portion. Make sure your script is executable and has the appropriate hash.
- For PHP: #!/usr/local/bin/php -q
- For Perl: #!/usr/bin/perl
9. Configure Multiple Rules
- You can configure each Filter with multiple rules or actions by clicking the plus sign next to the first rule to add a second rule.
- In the screenshot, you will see that add a second Rule Match Criteria to send a slight variation of the email address to the Junk filter as well.
- When using multiple rules, you will have another Operator option. In this case, have set “or” so that either of the email address is caught.
10. Click ‘Create’ to create the filter
- The final step is to click the Create button. You will then see a confirmation message.
How to Setup cPanel Global Email Filters
Click on the ‘Global Email Filters’ icon
- You can click on the “Global Email Filters” icon on the cPanel dashboard.

- You can click on the “Global Email Filters” icon on the cPanel dashboard.
Click on the ‘Global Email Filters’ icon
- Follow “How to Setup cPanel Email Filters for an Individual Email Address” from Step 3 above.