

The SiteLock WordPress Plugin provides complete website security management from malware and vulnerability scans to real-time security updates, without ever having to leave WordPress. The WordPress plugin SiteLock was updated to v4.0.4 in December 2017. You should update your version inside your WordPress Dashboard for those of you who already use the plug-in.
How to Get Started with the SiteLock Plugin
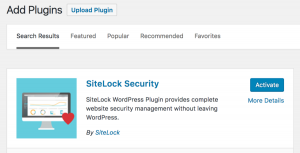
- From your WordPress Dashboard, visit Plugins–>Add New and search for the keyword “SiteLock”. Once you see the SiteLock WordPress Plugin, simply click Install, and then Activate.
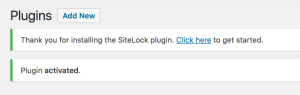
- After activating you’ll see the message below and a link to get started.
- Next, you’ll see the “Connect to SiteLock” screen.
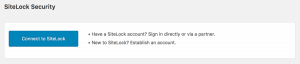
- To continue the setup process, you’ll need to connect to your SiteLock account through plugin. By doing so, it can display your security status and active SiteLock services.
- Once you click “Connect to SiteLock,” you’ll be directed to a secure SiteLock URL and given a few options for logging in.
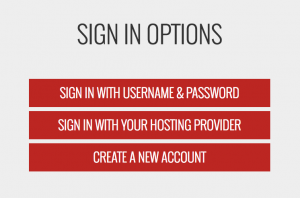
- SIGN IN WITH USERNAME & PASSWORD
Next, sign in here if you’re an existing customer who purchased the services
- Then, SIGN IN WITH YOUR HOSTING PROVIDER
Or, sign in here if you’re an existing customer who purchased services through one of our hosting partners.
- CREATE A NEW ACCOUNT
If you’re new to SiteLock, go here to create an account.
- After logging in, you’ll be redirected back to the SiteLock plugin settings screen on your WordPress Dashboard. Here you can view your SiteLock services, results, and status updates.
- For the purpose of this article, we’re using an account that includes both the SiteLock S.M.A.R.T. malware scan and auto removal tool, as well as TrueShield web application firewall (WAF) and TrueSpeed content delivery network (CDN).

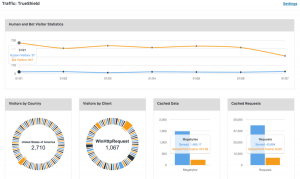
Traffic
You’ll see statistics for human as well as automated bot traffic in this tab. This data is collect by the web application firewall TrueShield, which actively protects the site from bad bots trying to access the web hosting server.
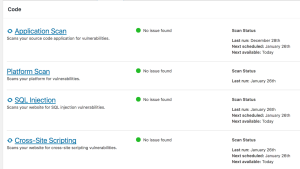
Code
This is where you’ll see the results of your available code-specific scans. Depending on the services you’ve added to your account, you’ll see:
- Application Scan
- Platform Scan
- SQL Injection
- Cross-Site Scripting
- Infrastructure Scan
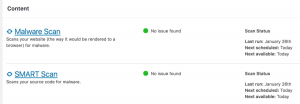
Content
This is where you’ll see the results of the scans performed on your content. While it, depending on the services you’ve added to your account, you’ll see:
- Malware Scan
- SMART scan
Reputation
This is where you’ll see the results of our reputation and verification tools. These include:
- SSL Verification
- Address Verification
- Domain Verification
- Phone Verification
- SPAM Scan
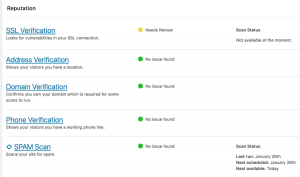
Now that you know what the updated SiteLock plugin looks like and how to work through each result’s summary, you’re probably going to want to dive into each of these for more detail. Also,this is particularly suggest when the status dot is yellow or red, suggesting that something needs your attention.Simply click the title of the service you’d like more details from, and a new tab will open with your SiteLock account loaded. In the example below, clicked on “Malware Scan”.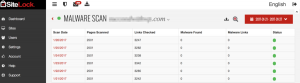
SiteLock is dedicate to keeping WordPress sites secure.